ProjectExplorer 5 for Autodesk Civil 3D
Installation & Licensing Guide | Standalone (SLM) License
Standalone (SLM) License
Step 2 - Start ProjectExplorer for the first time
Once the installation process is complete, start Autodesk Civil 3D and navigate to the "Add-ins" tab on the main ribbon.
You should now find a "ProjectExplorer" entry on the ribbon.
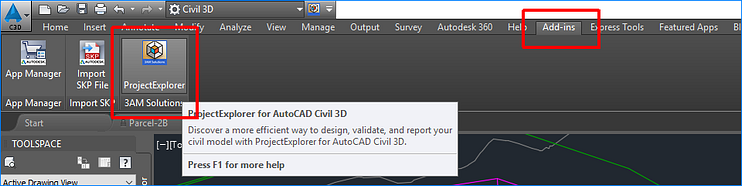
Click the new ProjectExplorer icon to start ProjectExplorer, or hit "F1" to open the Quick Start help file. The product can also be started by typing "PROJECTEXPLORER" on the AutoCAD Command Line.
Unregistered Trial Mode
When you start ProjectExplorer for Autodesk Civil 3D for the first time, the product will initially run in "unregistered trial mode" for up to 30 days.
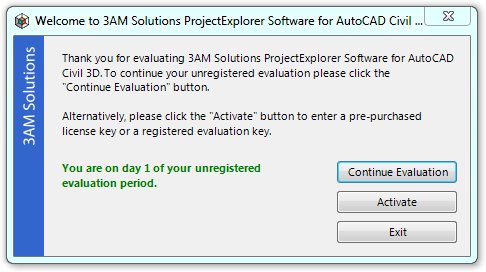
When the product is running in unregistered trial mode, a dialog is displayed each time the product starts. This dialog indicates the number of days remaining in your unregistered trial period, and offers you three options to proceed:
| Option | Comments |
|---|---|
| Continue Trial | Select this option to continue using the remainder of the unregistered trial period. If the trial period has expired, this option will not be available. |
| Activate | Select this option to activate your ProjectExplorer license using a pre-purchased or pre-issued license key. License keys are issued when you purchase a product license, or when you request a registered trial. |
| Exit | Select this option to return to Autodesk Civil 3D without starting ProjectExplorer. |
For instructions on how to activate a product license, refer to the License Activation topic.
Next Step