ProjectExplorer 5 for Autodesk Civil 3D
Installation & Licensing Guide | Standalone (SLM) License
Standalone (SLM) License
Step 1 - Install ProjectExplorer 5 for Autodesk Civil 3D
To start the Setup Wizard, double-click on the downloaded MSI file.
If double clicking the downloaded msi file does not result in a successful installation, try starting the Windows Command Prompt as an administrator and typing the following command:
msiexec.exe /i "c:\projectexplorer5.msi" /L "c:\projectexplorer5.log"
Important Note
Replace both paths in the example shown above with your own path to the msi file. If the installation fails, the generated log file (ProjectExplorer5.log) will identify the source of the problem. In this instance, please contact us for further assistance.
Start the Setup Wizard
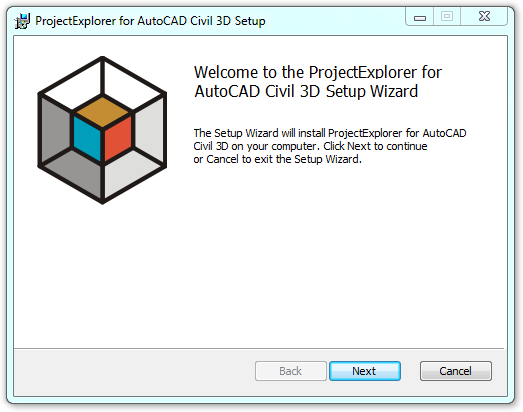
The Welcome dialog is displayed.
Click "Next" to continue...
Read and Accept the Software License Agreement

Review (and optionally print) the terms of the Software License Agreement.
Check the "I agree to the terms in the License Agreement" to accept the agreement and continue with the installation.
Click "Next" to continue...
Proceed with Installation
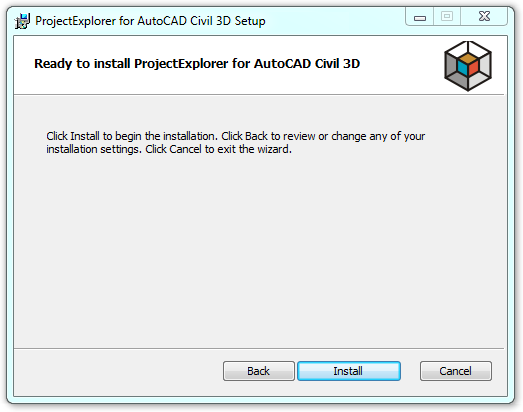
This dialog provides the last opportunity to cancel the installation without making any changes to your system.
Click "Install" to proceed with the installation.
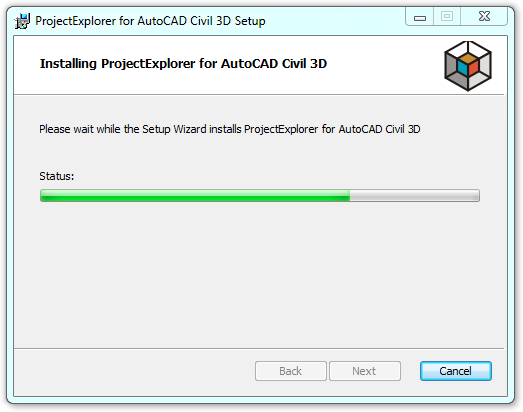
Wait whilst the Setup Wizard completes the installation process.
Close the Setup Wizard
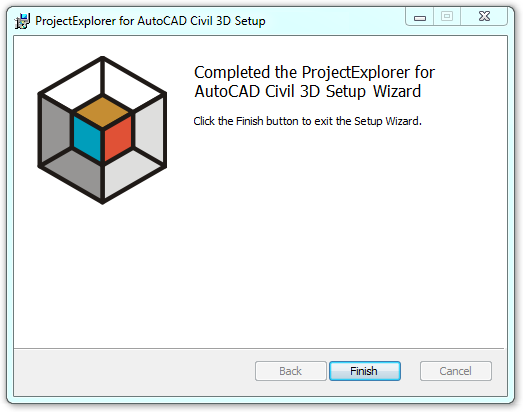
The installation is now complete. Click "Finish" to close the Setup Wizard.
Next Step